Probably the best part about making homemade ice-cream is the fact that you can pretty much make any flavour you want, and have it taste wayy better than anything you’ve had before at your favourite local ice-cream parlour. And YES- homemade ice-cream, freshly churned, is indeed THAT good.

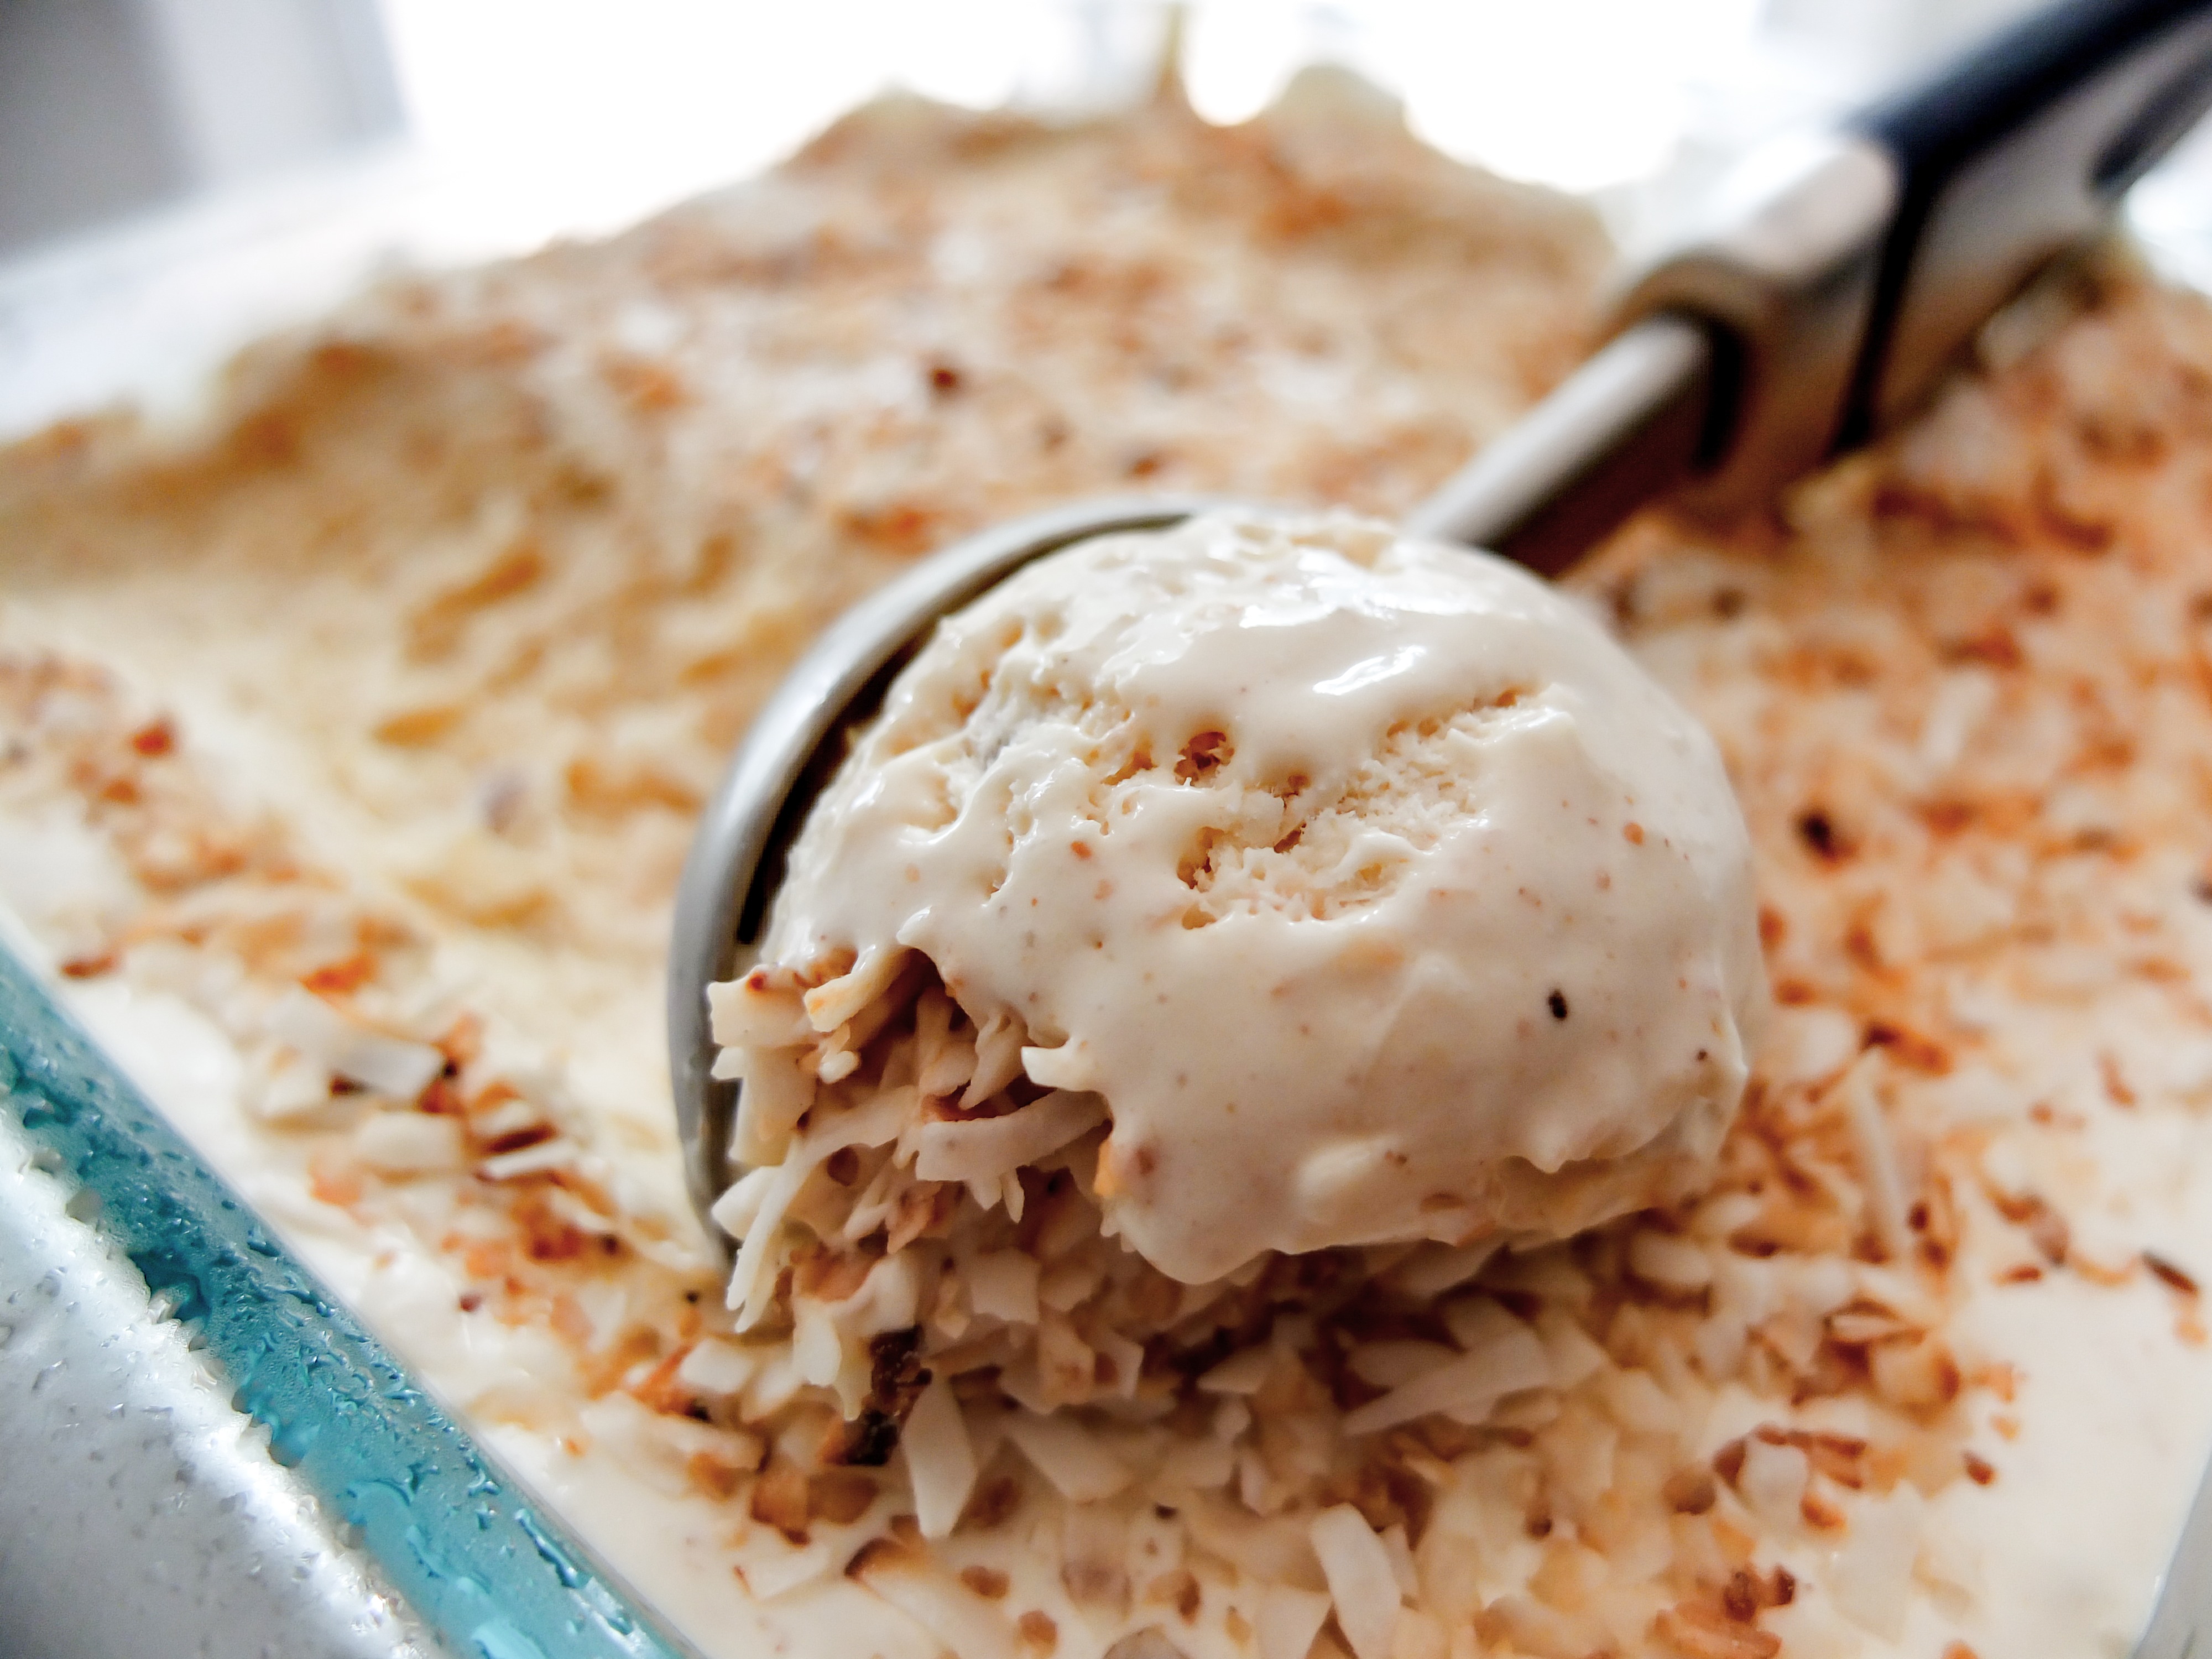
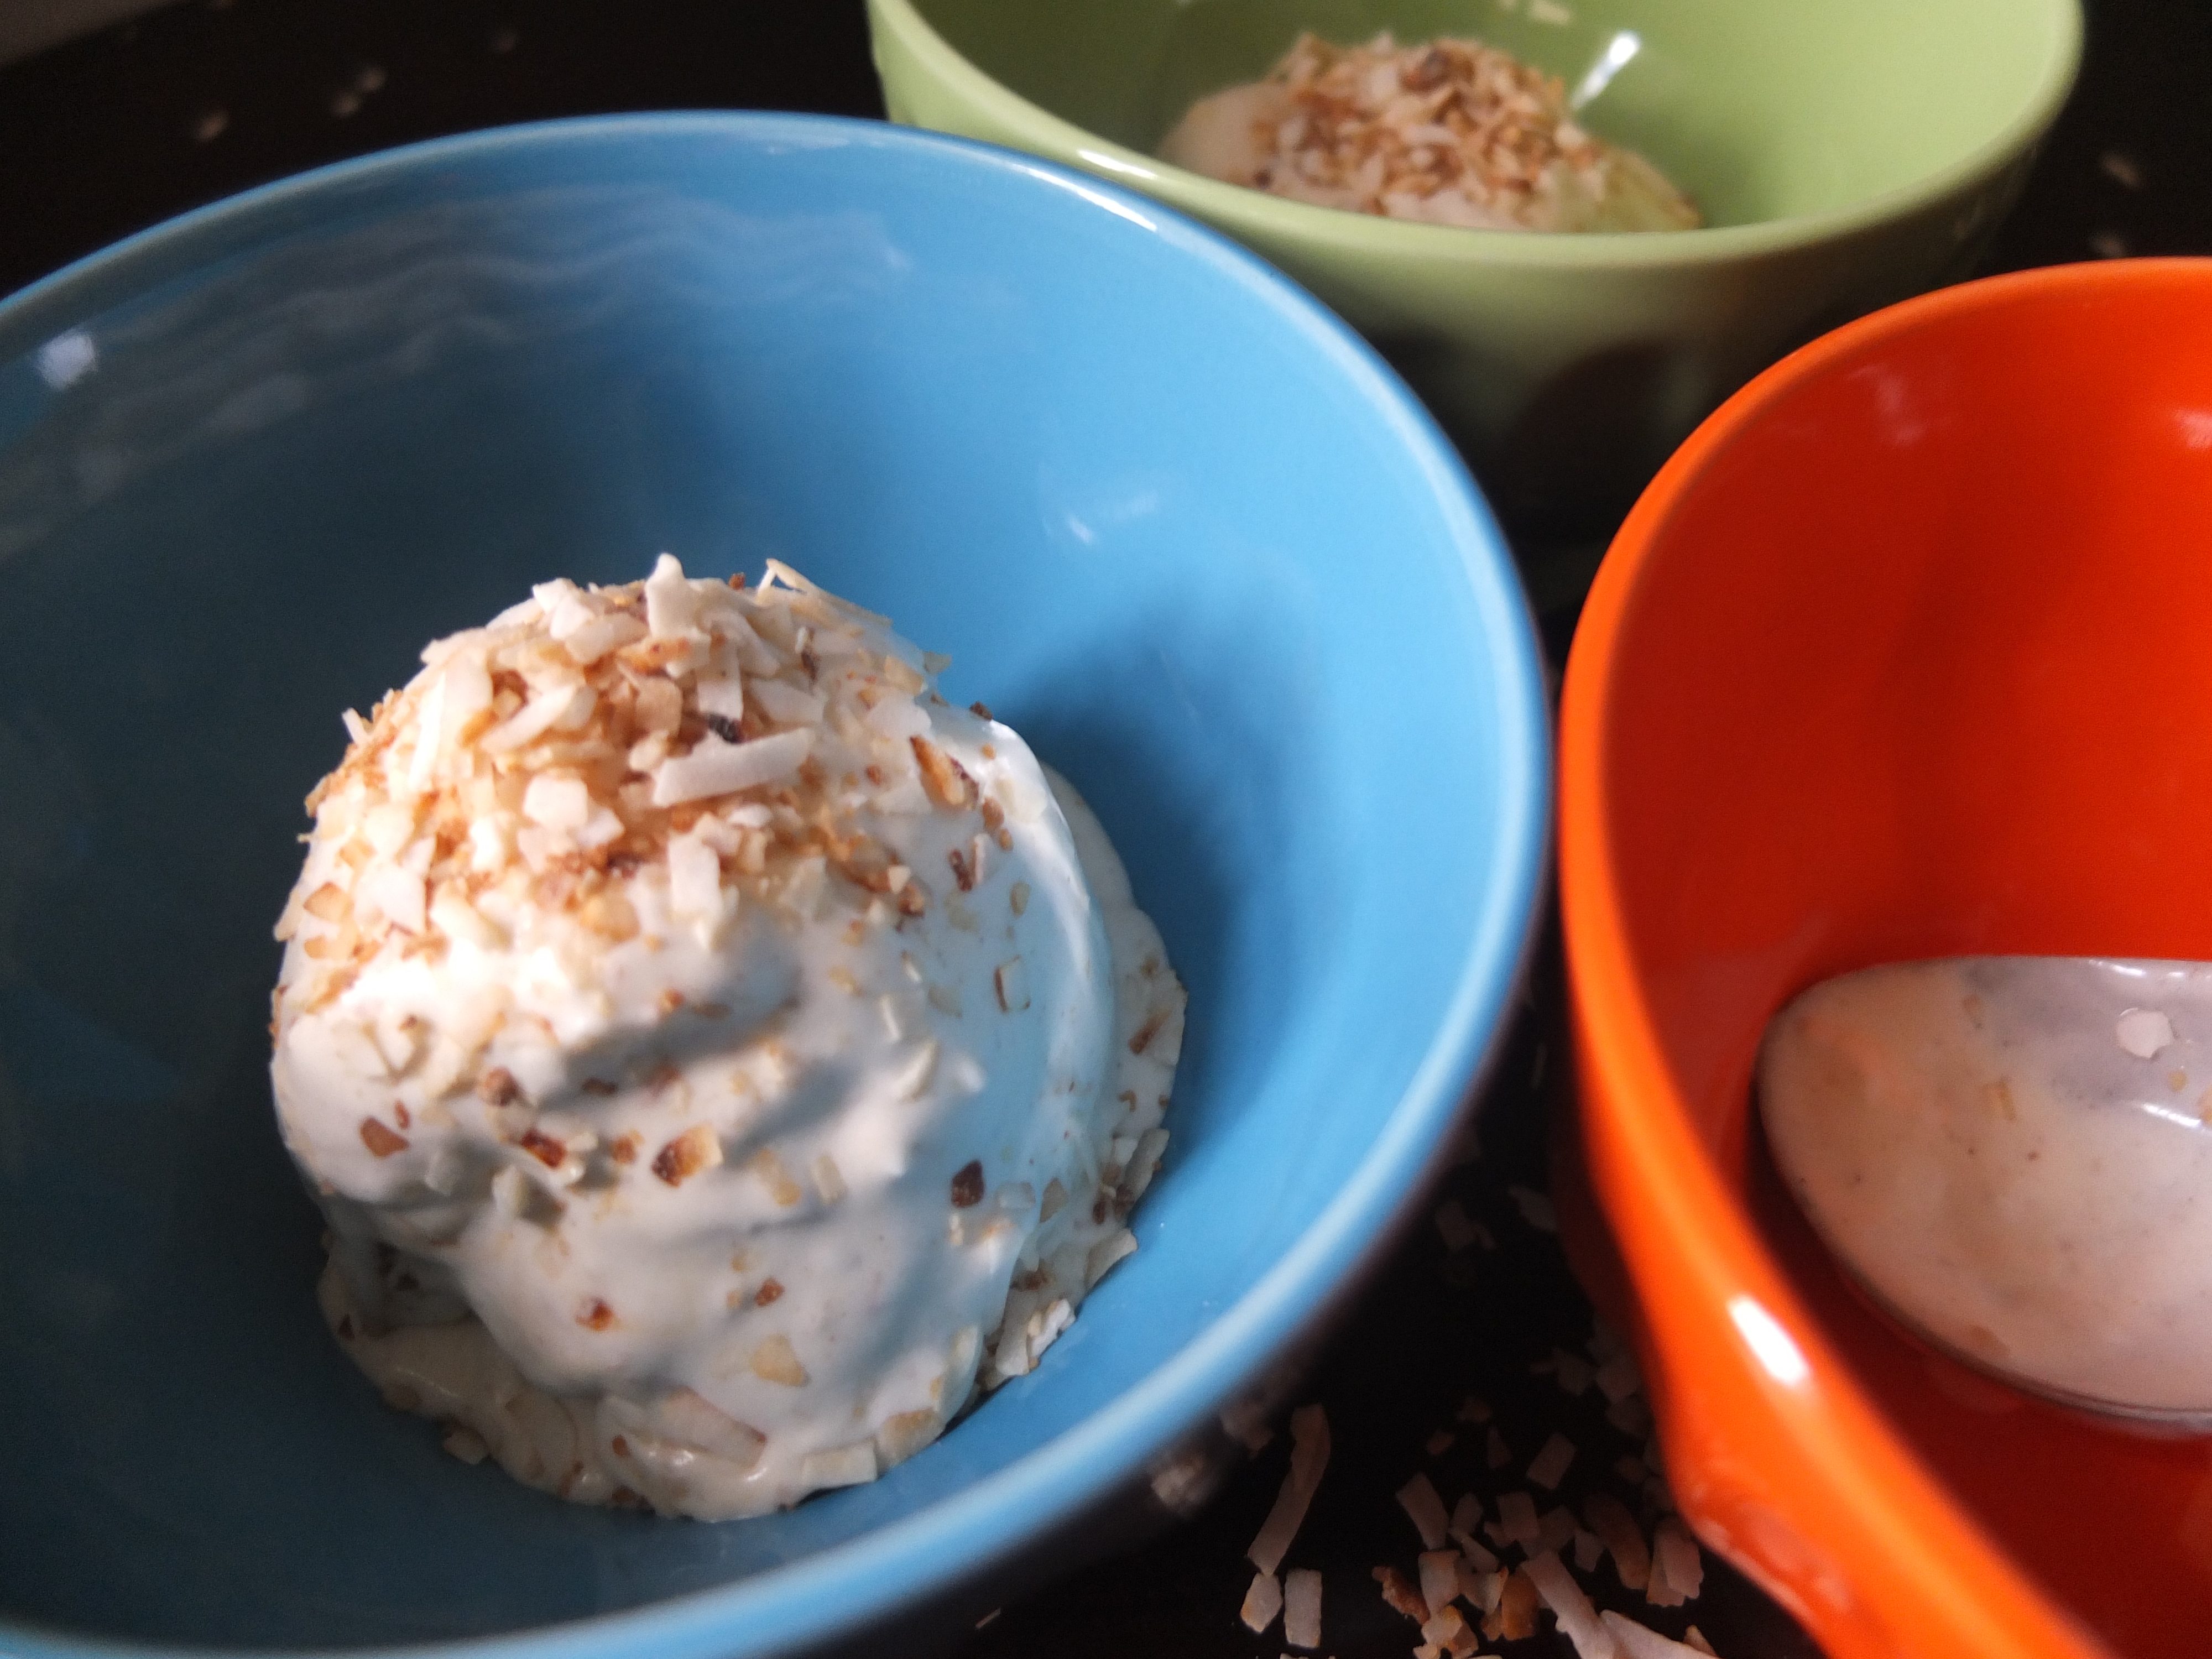
Realizing that these summer weeks are ending, I thought to myself: why not make myself some coconut cream pie… ice-cream? Well, I did just that, and the results…. SO creamy, coconuty and delish- coconut cream pie ice-cream tasting exactly how it should- like a perfectly cool coconut cream pie.

Whenever I make ice-cream, I actually prefer my mix-ins churned with the ice-cream throughout. Although the mix-ins are usually added in at the end, so not to form ice crystals during the churning process, but I usually just end up mixing everything together in my ice-cream maker and have also not found a difference in the final creaminess of the ice-cream either!
Ice-cream making should be a common craft, just like brownie baking- and before ya know it, you’ll be using your ice-cream maker more than your oven. So, here’s my coconut cream pie ice-cream recipe. ENJOY!!
Ingredients
- 1 can coconut milk
- 1 1/2 cups heavy whipping cream
- 3/4 cups caster sugar
- 1/3 cup caster sugar
- 4 egg yolks
- 1 tsp. vanilla extract
- 1/2 cup graham cracker crumbs
- 1 1/4 cup shredded coconut flakes
Method
- Separate the 4 egg yolks from the egg whites and whisk the egg yolks together in a small bowl for a couple of minutes until well blended. Set aside.
- Toast the shredded coconut flakes in a saucepan on your stove for a couple of minutes on low heat, until the flakes begin to brown. Be consistently mixing, so not to burn the flakes. Set aside.
- In another saucepan, pour in the can of coconut milk, 3/4 of the caster sugar, and 1 teaspoon vanilla extract. You want to bring this mixture to a small simmering boil, about 5 minutes, stirring consistently on medium-low heat.
- While the mixture is heating, take 2 spoonfuls of the heated coconut mixture and pour on top of your egg yolks, stirring consistently, in order to blend well.
- When the coconut milk mixture has been well heated and begins to lightly simmer, lower to the heat to low, and begin to slowly mix in the egg mixture, blending well and stirring consistently.
- At this point, only cook the coconut milk mixture further until it begins to coat the back of a spoon. Cook it any longer than this and you might risk curdling the egg yolks! Be sure to be stirring consistently. When you see your mixture thicken, take it off the stove and set it aside to cool a little.
- In a mixing bowl, pour the 1 1/2 cups of heavy whipping cream, and 1/3 cup of caster sugar. Blend well to mix.
- Now, slowly begin to pour your coconut milk mixture into the heavy whipping cream mixture, stirring consistently to blend well.
- Add in 1 cup of the toasted coconut flakes and the 1/2 cup of the graham cracker crumbs to the mixture and blend well.
- Covering your mixture with some saran wrap or a lid, let it cool in the fridge for at least 3 hours. The more chilled your ice-cream base, the better it will churn!
- After chilling your ice-cream, pour into your ice-cream maker and churn according your ice-cream maker’s directions.
- After your ice-cream has churned, pour into a dish and top with remaining coconut flakes and freeze overnight or for at least 6 hours in your freezer.
